Create a action button in Macro Deck 2
Step 1
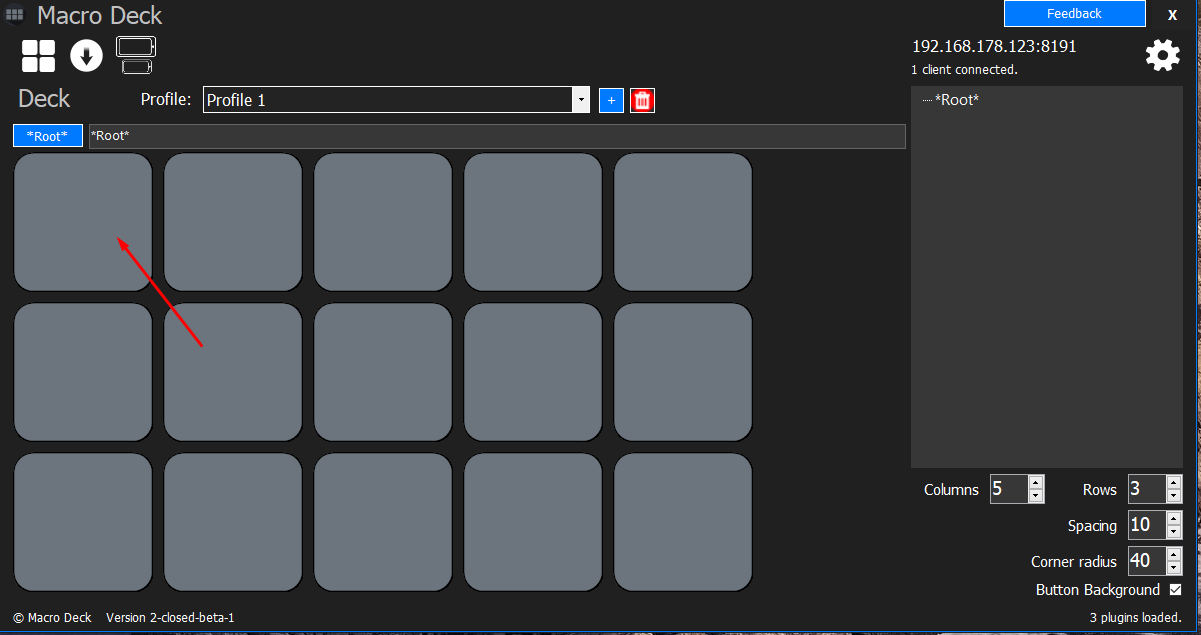
Double click on any button to create/edit a action button. You can also open the context menu with a right click and click on "Edit".
Step 2
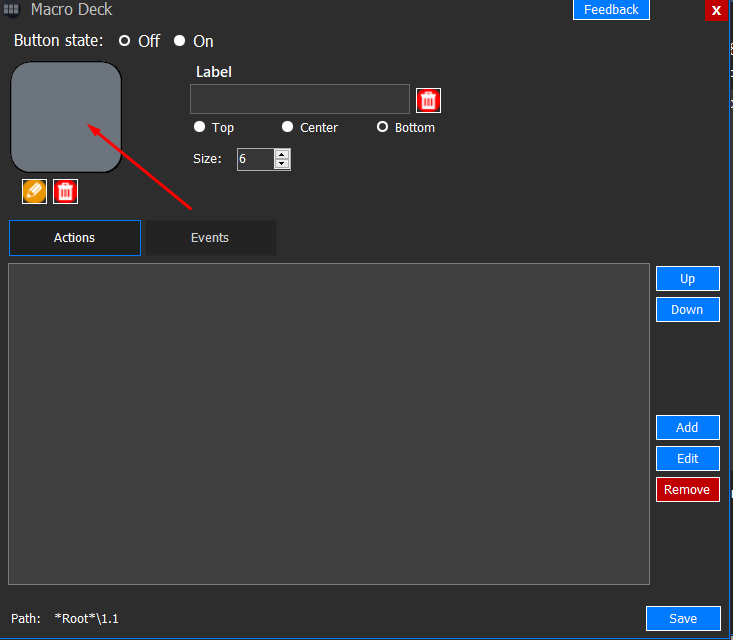
The action button configurator will now show. You can change the icon with a click on the preview.

Step 3
If you already imported a icon you want to use, continue with step 5. Otherwise click on "Import icon" and then select the icon you want to import.
Step 4
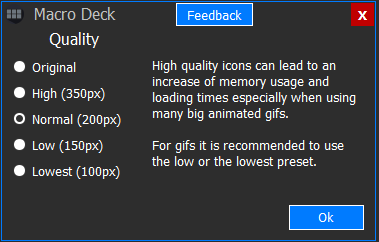
You can now select the resolution. If you imported a animated gif, it is recommended to use the low or lowest preset to save memory and decrease loading times. Click on "Ok" to continue.
Step 5
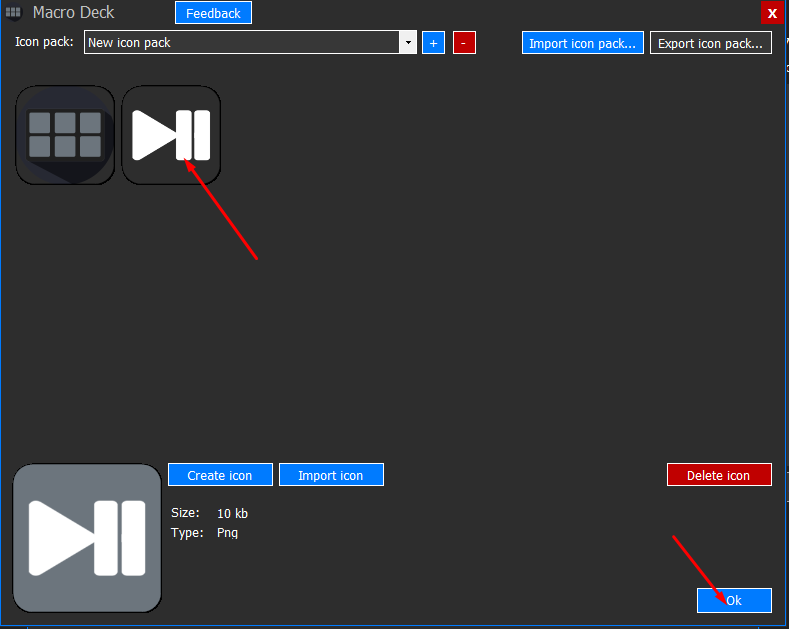
Now click on the icon you want to use for your action button and then click on "Ok" to continue.

Step 6
Now it's time to add some actions. You can add as many actions to one button as you want. Click on "Add" to add a new action.
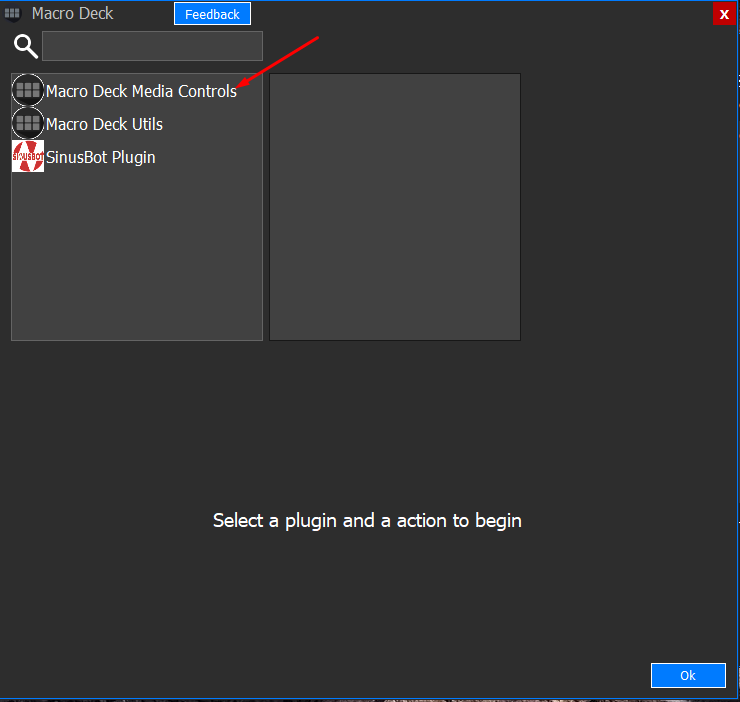
Step 7
Select the plugin you which contains the action you want to be performed when you pressed the action button.
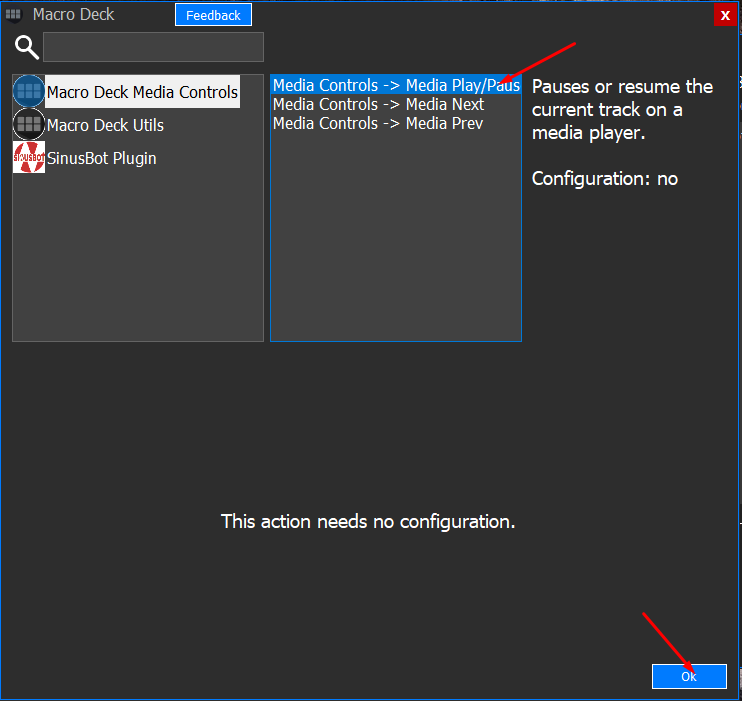
Step 8
Now search the action in the right list and select it. On the right side you'll find a short description. Depending on the action you use, you may need to configure it. When you're done, click on "Ok" to continue.
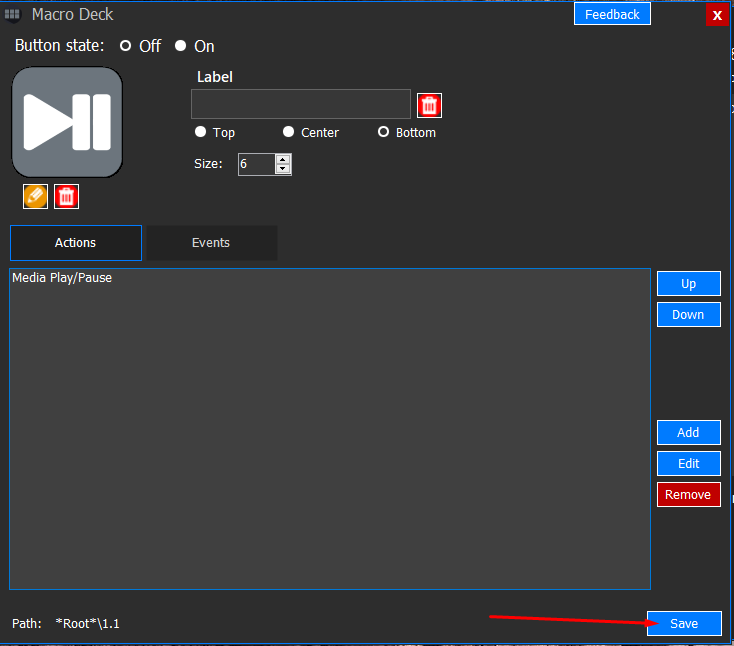
Step 9
Your selected action is now in the actions list. If you want to add another action, follow step 6 again. You can also select a action and edit it when you click on "Edit". The actions will be performed in the same order as in the list. To change the order, you can select a action and move it with a click on "Up" or "Down". Once you're done, click on "Save" to exit the configurator.

Step 10
Your action button will now appear on your computer and on your connected device and you can test it with a press on the button on your client.